Saturday, 29 September 2012

CHANDELIER PART 4.


 Ding dong. I think we're finished ol boy, and looking all good.


This project has taken a year on and off, and now I'm finally done I am really pleased with the way things turned out. Using exactly the same components the shape and final finish could have gone so different many ways. 


 Just the light bulbs cost me an arm and a leg, but was a joy to finally plug in and hit the switch.


 Thank you to all who helped make this happen from the bloke walking past who helped me shift the entire plane engine off the pallet into the workshop, Stevo, Barney, Kev and Mat who spent a whole afternoon helping wire the lump up not forgetting Stuart York who has taken some cracking snaps of the splendid spectacle, I doff my hat to you. I believe its being packed up and shipped to Sydney Australia to its new home.....


I just spotted this as I was looking for some pics.

 Manfred von Richthofen, nicknamed "The Red Baron". This German aristocrat loved hunting; his bedroom was covered with the serial numbers of British aircraft he'd shot down and the chandelier was made from the rotary engine of British plane. The Red Baron was recognisable by his red-painted plane: the colour of his former cavalry regiment.

The shape of a radial engine lends itself so well to making chandeliers
Original text can be found here.

http://tv.fopii.com/news/p3_2434_0.html

Wednesday, 19 September 2012

McCLOUD'S MAN MADE HOME.


 I had the pleasure of being involved in a project for C4 recently, helping Kevin McCloud build a chair from an old TE20 little grey fergy vintage tractor. Can't say to much...


But, this is the chair which is a collaboration between Kevin, Bill Amberg[leather genius] and myself.


Some pics of the inside of the shed and the hot tub which was made from a Boeing 737 engine cowl.
 

More on this to come and for a clip from the program click here.

Sunday, 2 September 2012

CHANDELIER PART 3.


 After changing the top fire extinguisher as the old one was more of a prototype, I added the next nine arms. It took a few attempts cutting these down but I am beginning to take in the overall look. [Its difficult to visualise when there are no plans] I just hope the ceiling takes it.


I have tightened up the whole look by doing this and its brought the two different shaped light bowls together which I was well chuffed with.


Kevin Smith top lathe man helped out turning all the threads of half the compression fittings to lighten things


and created loads of nice looking gold dust. Good work and thanks.


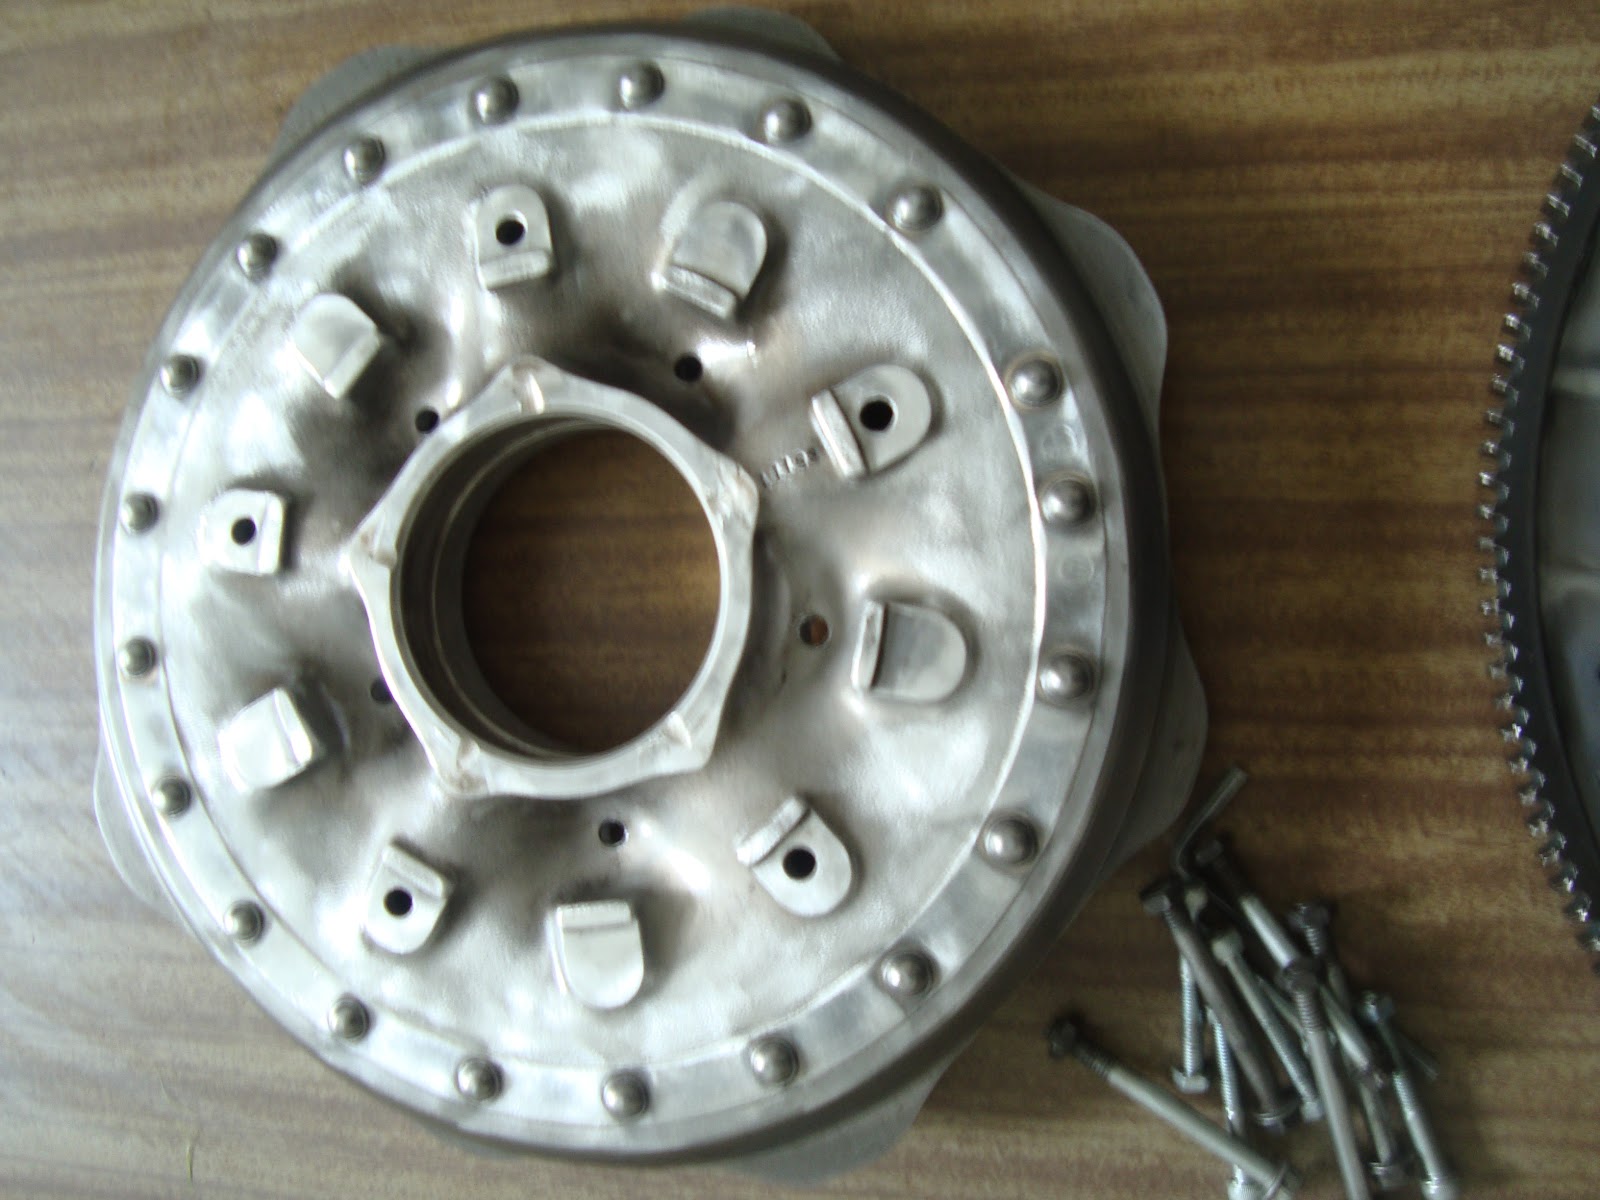
 Barney popped over for a cuppa and ended up removing the identification plate, giant main bearing and a few other bazaar bits, to make space for the light bulb that will sit in the middle of the main body. Cheers Barns.


Before taking things to the shot blasters I decided to pop to the hand car wash to clean all the grease off. I think I made a few guys at the garage laugh rocking up with this on my push bike.


Then off to the shot blasters to get things sand blasted and then bead blasted which should make things easier to polish.


 Next to do is make the bulb holder bits for the light bowls and a hell of a lot of polishing.


LAURA'S LAMP PART 2.


 Some pictures of Laura's lamp after applying the green patina, I think it works quite well.


 The top faze from green to copper came out a lot brighter than the bottom but applying this particular chemical is not an exact science.


 I found this old wall mounted loud speaker whilst at the scrap yard and thought with a little bit of work it may make a nicer lamp shade than a gramophone horn?


The insides of the speaker could be placed on top to produce a more streamlined shape


The whole lamp shade is only suited for an up light but it does have a space to let some light out and a vent for the heat......


Thursday, 9 August 2012

FOUR.


 Not many fairways in Hackney but I have found a use for old golf clubs for the dapper gentleman, 
 to be unveiled at Tent London.

Tuesday, 31 July 2012

LAURAS LAMP PART 1.


 I met Laura earlier this year and she has been very patient while I have been working on a few -yet to be revealed projects. She asked if I could help her to make a floor standing lamp to her unique vision.

 We sat down for a chat and came up with a few ideas including using a gramophone horn for a lampshade, next was for Laura to draw up a sketch (above). The drawing helped me to get an understanding of her idea and to source the parts to fabricate it from.


 I put together a rough base with one of the vintage horns from Tom in the south of France [which we now belive to be lighthouse horns!] then arranged to hook up with Laura to see if I was on the right lines.


After our rendezvous in the workshop I realised quite how much detailing was required. We added the cam from my 1930s radial aero engine which is a great piece of engineering and medley of aluminuim and steel...


which will work perfectly with the modifided valve handles that detail the horn.


 Laura also loves the look of polished and green oxidised coppers so I took the horn (which is steel) up to the metal platers. The pic above shows the plating before polishing and the pic below shows how it looks buffed up and the beast of a machine that I used to acheive this.


Standing at almost 6 feet tall here is a photo of how it looks at the mo [The height will be adjustable by about a foot]. Laura bought a super cheap lamp shade from a charity shop to get an idea of how things might look and to get a better idea of  how the gramophone horn was going to work. After some confabulation I am to experiment with some chemicals to create a greenish/turquoise faze to certain areas of the copper horn, then wire the base up so it can be used while I try to find a brass gramophone horn to top things off and compleate the assemblage........

Wednesday, 30 May 2012

WALL LAMPS.


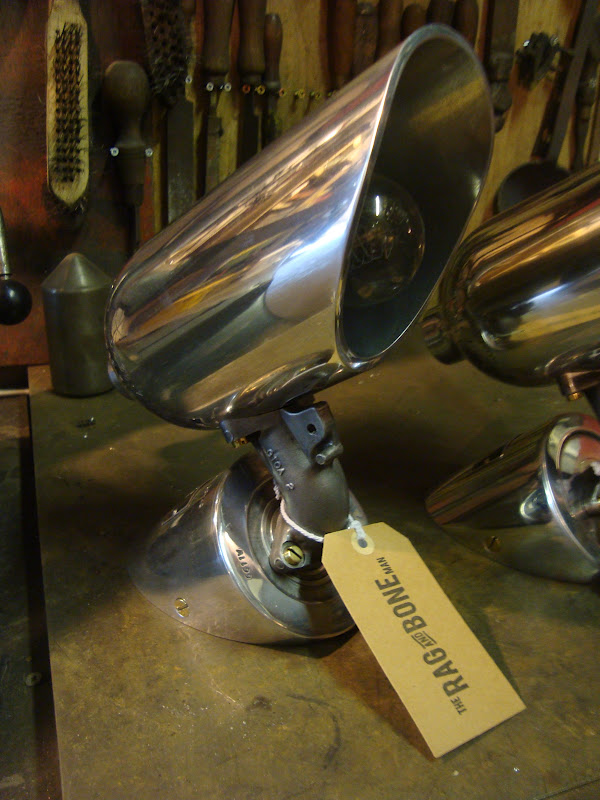
A few bad pictures of wall lamps I have made recently more on these to come.